Get Your Home Ready for Spring with 11 Simple Steps

Spring flowers are on their way! And as the weather warms up, that means it's the ideal time for home repairs. As summer approaches, you'll be spending more time in your outdoor spaces, lounging, grilling, or hosting parties. Increase your home's curb appeal by taking care of your exterior, from shining siding to lush grass. Follow these 11 steps, and your beautiful home will be the talk of the barbecue.
1. Understand the weather

The damp climate of Seattle has a unique effect on your home's exterior. Seattle may not get a lot of rain in terms of inches, but because of the near-constant drizzles, the moisture never really dries out. This can wreck low-quality or poorly installed siding and shingles. If left unrepaired, over time, this can cause mold, fungus, and rot inside and outside of your home.
2. Do an exterior check of your home

An annual exterior check is essential, especially after Seattle’s rainy
winters. To get ready to inspect your home, you’ll need a few simple tools. A
good pair of binoculars can help you get a good look at your roof and upper
floors, but a digital camera can also work. A camera also has the advantage of
allowing you to compare photos of one year to another, which can help you
catch subtle signs of damage, like small cracks in your siding.
3. Do a roof inspection

Check each year to ensure that no shingles are loose, cracked, or missing. Make sure the flashings are still in place and directing water the right way. Delaying roof repair can cause serious issues. Damage to the roof can cause further damage to your home, including your siding, walls, and ceilings.
If you live in a damp area like Seattle, be on the lookout for roof algae as
well. Roof algae leaves dark streaks down your shingles and is especially
visible on light-colored roofs. Over time, it can weaken the structural
integrity of your shingles and cause them to become loose.
4. Clear your gutters
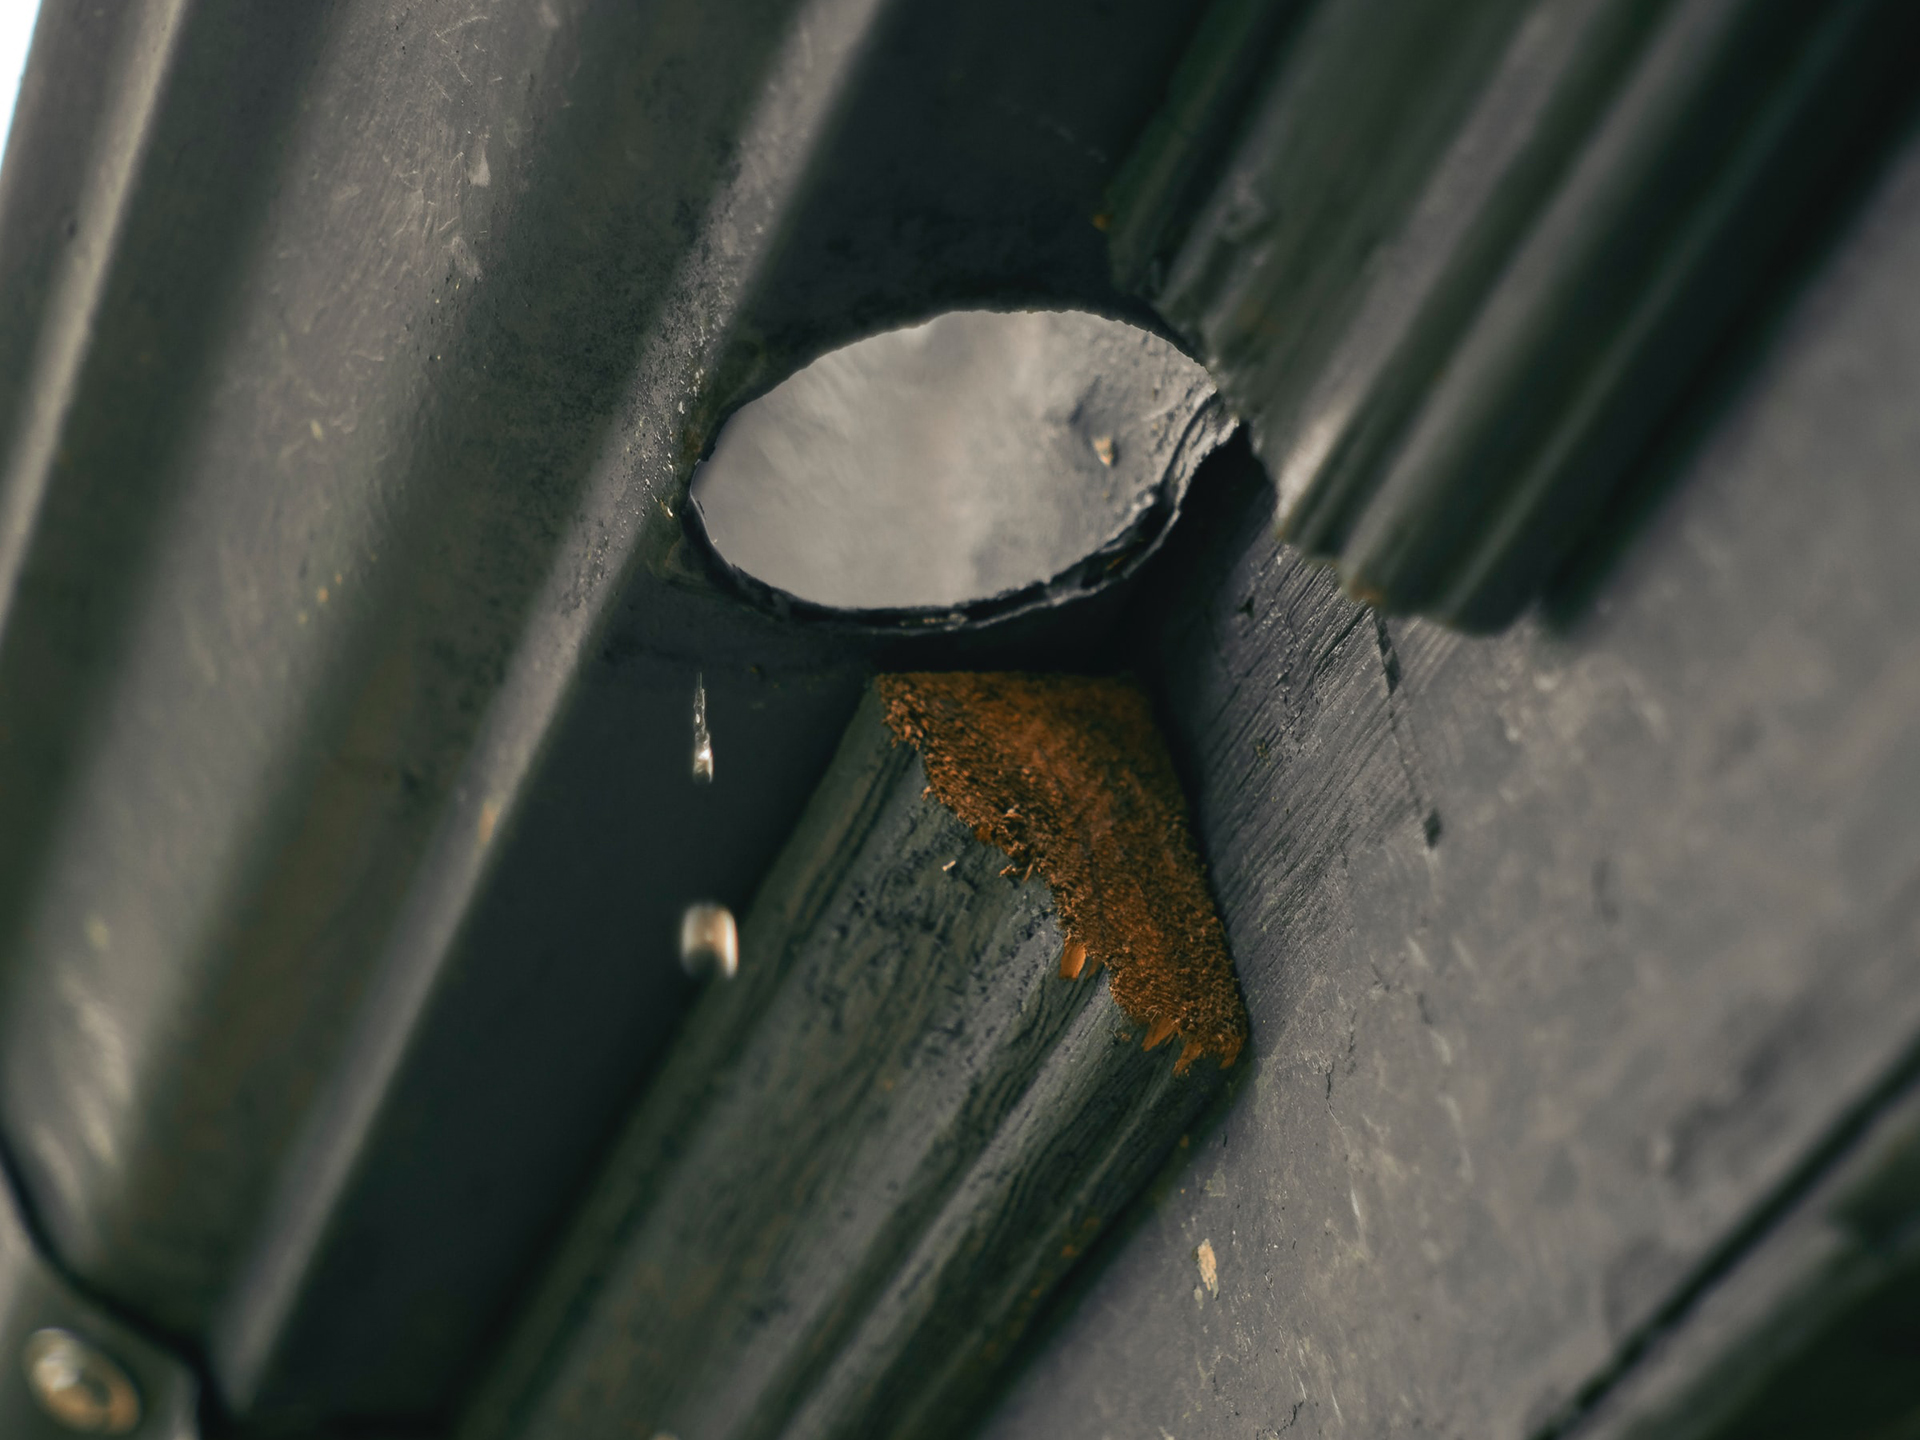
Even if you cleaned your gutters of leaves in the fall, you'd be surprised how much they can fill up with dirt, pine needles, and grime from the winter winds. To begin, make sure you have a sturdy ladder and place it on stable ground. You might want to have a helper on the ground while you work. You can clear the gutter with a specialized gutter scoop, but household items like an old spatula or children's sandbox shovel can work just as well. You'll want to have a tarp below to catch the gunk you clear out, so it doesn't spoil your landscaping.
Once you’ve cleared your gutters, run a hose through them. This will help you
figure out if you have any leaks or blockages. A leaking gutter can damage
your roof or siding over time.
5. Inspect your attic

Damage to the attic can be a sign of other issues in your home. Moisture
inside your attic could be caused by damaged or loose siding. Ice dams on the
roof or in the gutters can also cause sponginess, cracked plywood, or streaks
down the walls of your attic.
There are a number of items that you want to check in your attic, especially ventilation, moisture, and rodent activity. Ventilation is important because proper airflow ensures that any unwelcome moisture that enters the attic will find its way out. Sometimes bathroom fans blow into the attic when, in fact, they should be blowing through the attic and into the outside.
6. Wash Your Windows

While you likely wipe down the interior of your windows while cleaning the house, the exterior is where stains and dirt are more likely to accumulate. Before you clean the outside of your windows, first remove the screens. Any stains or bird droppings on the screens can be cleaned with a vinegar and water solution.
Begin by rinsing the windows with your garden hose, then fill a bucket with water and a few drops of dishwashing detergent. Use a soft microfiber cloth to wash the surface of the window. For windows on your upper floors, a sponge mop (or a soft cotton or microfiber mop) on a pole works great.
To avoid streaks on your lovely clean windows, dry your windows with a clean,
rubber-bladed squeegee. Work from top to bottom, angling the squeegee down.
Each time you reach the bottom of the window, wipe the squeegee with a clean,
dry towel.
7. Take Care of Your Lawn

You might not have given your outdoor spaces much thought during the colder
months. Now's the time to get your yard barbecue-friendly. The first step in
preparing your lawn for spring is clearing any leaves, twigs, and other debris
that may have accumulated over the winter.
Starting in early spring, you can use a combination of fertilizer, which feeds your grass, and pre-emergent, an herbicide used to prevent crabgrass. Six to eight weeks later, you can apply each product again, along with a broadleaf weed killer.
8. Mulch Your Garden
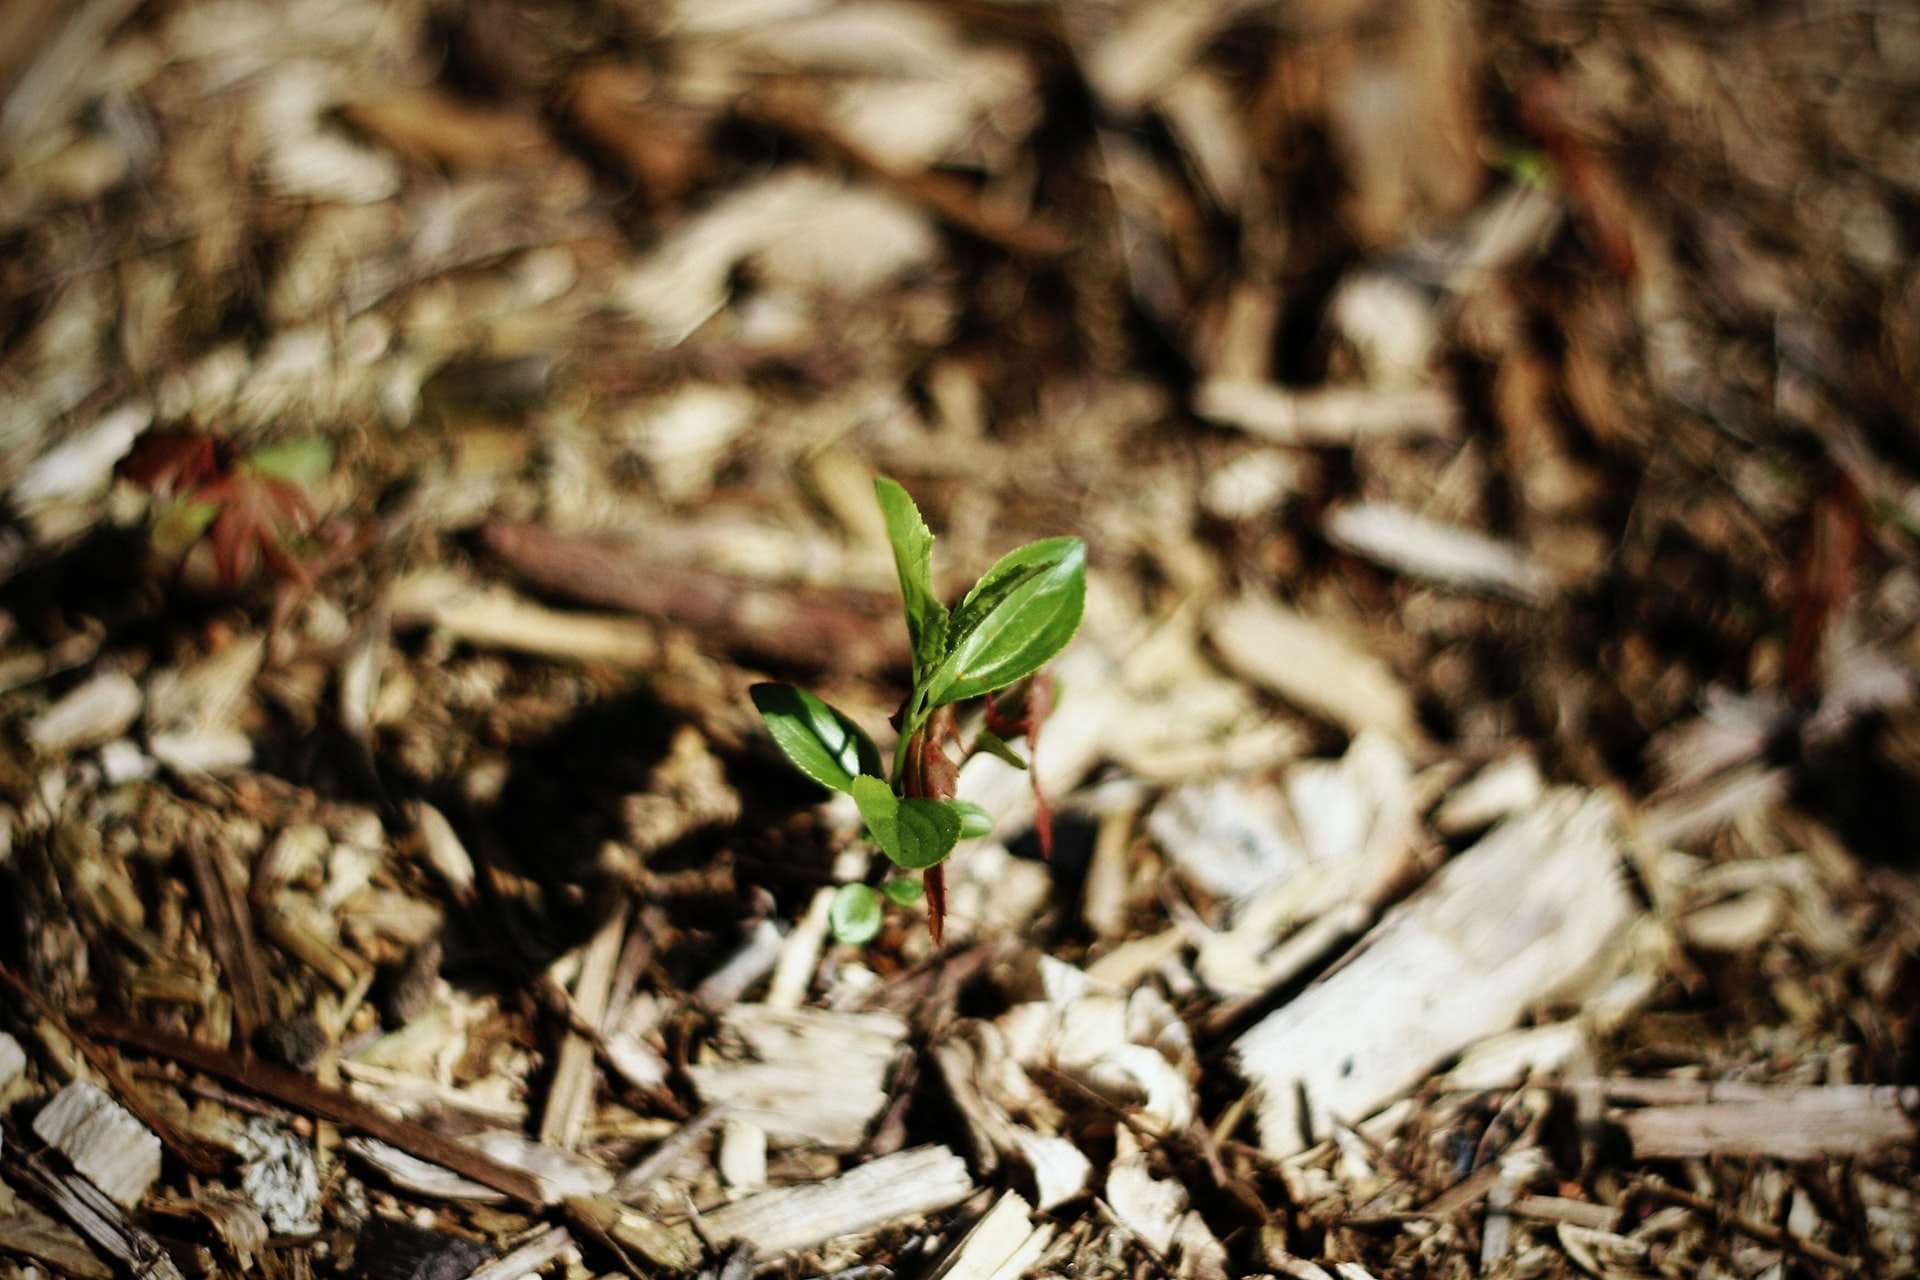
Not only does mulch help your garden look nice and uniform with crisp, clean edges, but it also retains water, helping to keep the roots moist, and it insulates your plants from high and low temperatures. Mulching early in spring will help prevent weeds.
9. Check Your HVAC System

Your HVAC or AC system should be checked regularly in order to detect any faults or errors. Make sure that you clear out any twigs and dust from the filtration systems, which can hamper its performance and increase your energy bill.
It’s also best to replace the air filter of your HVAC or AC system before the heat strikes. If you remember to schedule regular inspections and timely filter changes, you’ll likely end up with lower energy bills.
10. Clean your siding

Your siding is the face of your home. It’s what will form people’s first impression. To keep your home looking its best, give your siding a good cleaning. If your home exterior is made of shingles or wood, you should use a power washer to remove any dirt or grime. However, if you have fiber cement siding, a regular garden hose can be enough to give dusty siding a new shine.
To start, mix some mild dishwashing detergent with some water to create a solution. Never use abrasive cleaners on your siding. Dip a soft cloth in your solution and use it to wipe off any grease, oil, or other materials that are spoiling the beauty of your home. If you find mold or mildew on your fiber cement siding, you can buy a special safe and non-damaging fiber cement siding cleaner at your local hardware store. After you've scrubbed off the tricky spots, you can rinse off the suds with your garden hose.
11. Repair or replace damaged siding

Siding often becomes disfigured and damaged as time passes, especially after winter weather, when wind can carry debris and other objects in the air. Additionally, older siding frequently fades and can look worn out or old-fashioned.
If your siding has any visible damage, such as warping, buckling, cracking, or splitting, or you have loose pieces of siding, it is time to have your siding repaired or replaced. But how do you know if you need a minor repair or a total replacement? Some damage might be localized and only require minor repairs, but widespread damage will necessitate a total siding replacement.
Contact EcoSide for Siding Replacement or Repair
Considering siding repair or replacement this spring? EcoSide has been making siding simple across the Seattle area since 2009 and would be happy to provide you with a free, no-obligation estimate. Call (206) 235-1275 or visit EcoSideSeattle.com to get started. Or use our handy Siding Calculator to estimate how much a complete siding replacement could cost for your home.
Siding Replacement Calculator
Use our free Siding Replacement Calculator to estimate how much you could save on your siding replacement project.
Hey Neighbor, Let's Connect
EcoSide is doing great work in your neighborhood! Get your free estimate now.

Don't Wait! Get a Free Estimate Now
Fill in a few details to get your siding replacement estimate